How to winterize a Superbike in 10 minutes (or less)
How to winterize a Superbike in 10 minutes (or less!)…
Unfortunately, its now that time of year again where it gets harder and harder to find the opportunity to get out on the bike, especially if you’re here in the UK. If you plan on parking your bike up for the winter and want it to run smoothly next summer, then spending a little time to winterize the bike is essential. The process of getting your bike ready for its winter nap can vary , depending on how much time you have and how involved you want to get. As a bare minimum, we would suggest doing the “fast winterization method” listed below.
If you have a little more time or, like us, obsess about your bike being 100%, you can do a full winter prep which will only take you around an hour.
Fast Winterization Method (10 minutes):
The only two things you really need to do to winterize a superbike are:
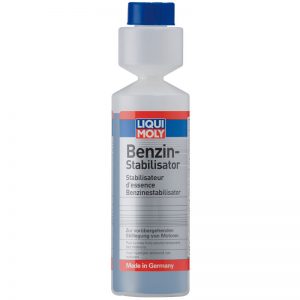
1) Add some fuel stabilizer into the petrol tank and run the bike for a few minutes to ensure the stabilizer gets all around the bike. This is especially important if your bike is running the new E10 grade petrol.
Liqui Moly do a great fuel stabilizer that we would highly recommend.
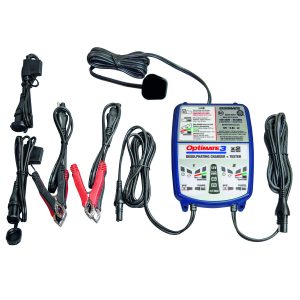
2) Ensure the battery is left on an optimizer or trickle charger, this can be done on or off the bike.
This optimizer is capable of maintaining two batteries at the same time.
Full Winterization Method (1 hour):
If, like us, you’re the kind of person who obsesses over their bike being 100% then you’ll want to take a look at this full, 10 step winterization method.
Step 1: Put Fuel Stabilizer into a Full Tank of Petrol
As above, this is one of the most important steps. Its not common knowledge that fuel does in fact have a life span. In as little as a few months the petrol in your tank can go bad and leave a gummy residue in your fuel system, this can obviously cause havoc to parts such as your fuel pump. A fuel stabilizer will help prevent the fuel from going bad inside your tank. Ensuring your tank is full of petrol will help prevent the chance of moisture building up inside the tank and causing rust.
Step 2: Let the bike run until its up to temperature
This couldn’t be easier, here we are literally warming the bike up. This serves two purposes. The first, it will make sure that all of our newly treated fuel is distributed around the bikes fuel lines and fuel pump and secondly it will make the next step in this guide much easier.
Step 3: Change the Oil and the Oil Filter
You might wonder what benefit having fresh oil in the bike will make if your not planning on actually using it, but there is method in the madness. Having dirty engine oil full of contaminants left sitting in the bottom of your sump for a pre-longed period of time doesn’t sound like a very good idea. Also, when the winter has passed you’ll have the benefit of knowing that the bike is ready to go with fresh oil and a brand new oil filter.
If you’ve never changed the oil on your bike before, we did a little write up for a oil and filter change on a Honda CBR 600RR. Your bike may be different, but the process is similar across most bikes.
Step 4: Fully Wash and Dry the Bike
Give the bike a once-over with a decent degreaser and then follow with a thorough wash to remove any dead bugs, tar and general road grime. Once the bike is clean, dry the bike with either a specialist motorcycle dryer or a micro-fibre cloth to remove any water spots.
With the bike dry, treat any painted panels to a coat of a quality wax and give any exposed metal or chrome parts a light coat of WD-40 to displace any moisture and protect against corrosion.
Now the bike is clean it’s time to get a protective coat onto any moving parts and pivot points. Key points to lube up are the bikes cables, fork surfaces, controls and suspension linkages. Try to avoid using solvent based lubricants, such as WD-40. You can buy specialist motorcycle lubricants or a light coating of clean engine oil will do a good job.
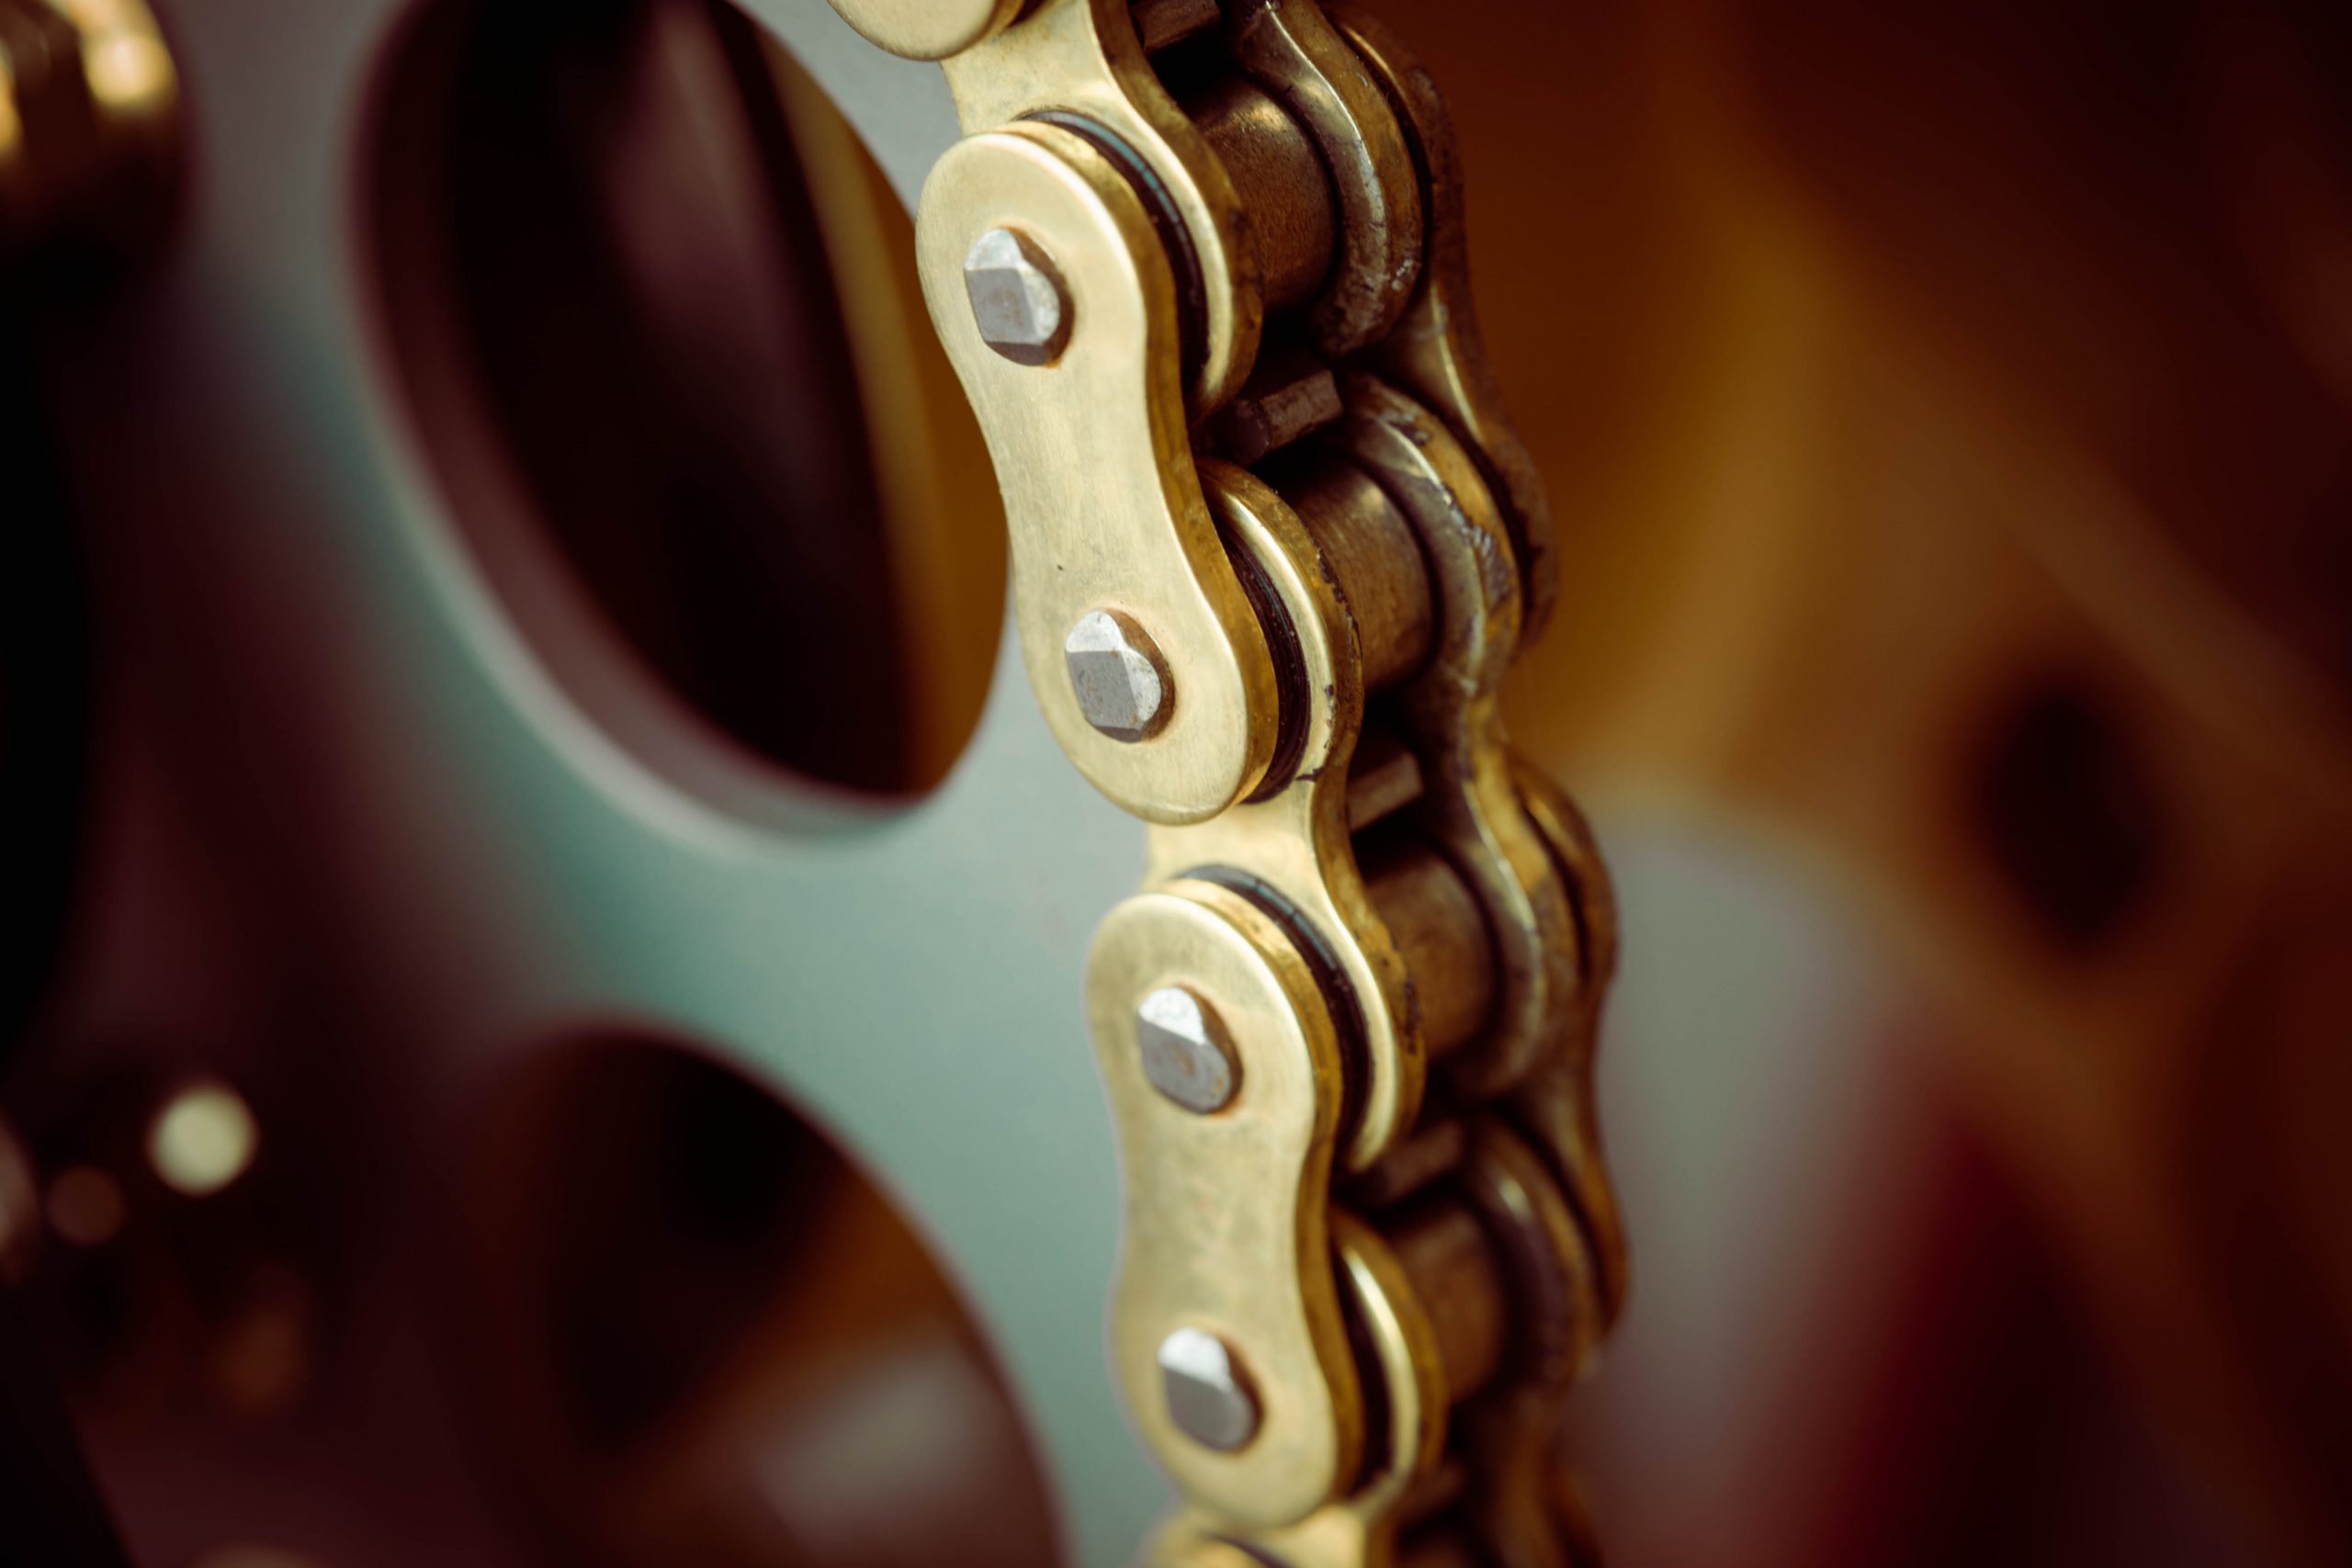
The chain is another area you’ll want to pay attention to, this should really be done any time after the bike has been washed. Grab a can of your favourite chain lube and spray generously. You can really spray as much as you like but you don’t want it dripping everywhere.
Check out our article on chain maintenance if its your first time.
Ensuring these parts are lubricated will prevent moisture build up and prevent corrosion and binding.
Step 6: Leave the Battery on a Trickle Charger
The sudden drop in temperature and lack of use can be fatal for a motorcycle battery, fortunately they aren’t too difficult to look after. Your best bet will be to purchase a battery optimizer / trickle charger. You can get set ups that you install onto the bike so its literally a case of plug in and forget about your battery maintenance issues. Some optimizers may require that the battery is removed from the bike first.
While you’re here, take a look at your battery terminals and ensure they are free from any dirt or corrosion. A light coating of grease will help protect them if you feel they need it.
This optimizer is capable of maintaining two batteries at the same time.
Step 7: Check the Tyre Pressure and Leave the Bike on Stands
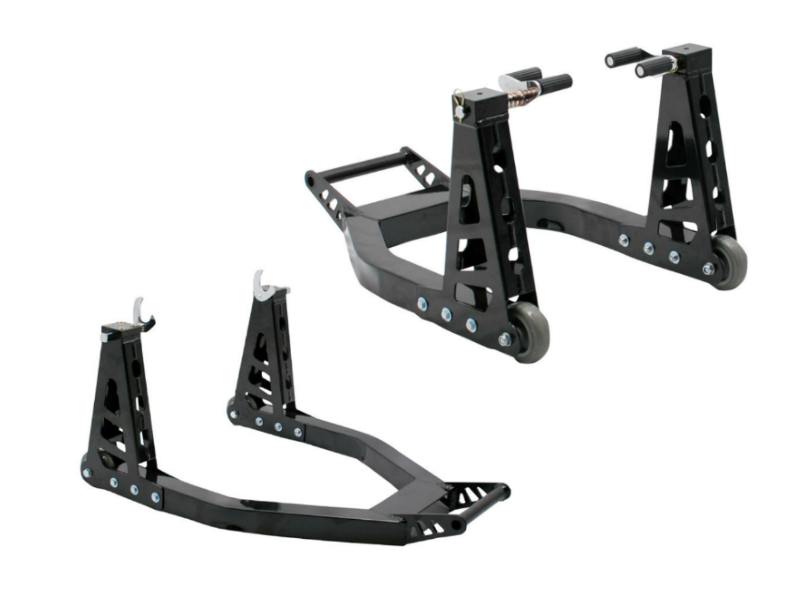
Leaving your tyres stationary for pre-longed periods of time can distort the shape of the tyre and lead to flat spots. The most efficient way to deal with this is by storing the bike on stands. It doesn’t really matter if its paddock stands or an Abba style stand, just as long as the tyres are off the ground.
If you don’t have access to bike stands, you should inflate your tyres to a higher PSI than what you run on the road (but not exceeding the max PSI stated on the tyre wall). A harder tyre will be less likely to deform. Rolling the bike around the garage every few weeks will also help. Placing a piece of wood or cardboard under the tyre could also be beneficial, this will help prevent grease, oil or moisture seeping into the tyre.
Step 8: Check Coolant/Anti-Freeze
If your garage isn’t heated, especially here in the UK there’s a chance that the temperature could dip below freezing. For this reason, its really important to ensure you have adequate levels of anti freeze in your bikes cooling system. If you don’t have antifreeze or are running just water, there’s a chance it could freeze inside your bike. This could lead to splits and cracks in your cooling system hoses or worse, damage to the internals of the engine.
Step 9: Check Brake Lines and Master Cylinders
A quick check is all that is needed here, check around the master cylinder, the calipers and connecting banjo bolts for any leaks. Brake fluid is really corrosive stuff, especially if its left to eat into your bike for a few months! Save yourself the upset and take a few minutes to check for any leaks before parking the moving on to the final step.
Step 10: Cover the Bike and Start Counting Down Till Spring
So, you’ve spent the last hour or so making sure you’ve got all bases covered ready for your bikes hibernation. The final step is to invest in a quality motorcycle cover. A decent cover will protect your pride and joy from dust and prevent moisture building up on the bike which could lead to corrosion. This is particularly important if your bike lives outside, but still relevant if it’s to be left in the garage. If the bike is to be left outside, be sure to fasten down your bike cover with tie downs to ensure it doesn’t blow away.
Preparing your superbike for its winter hibernation isn’t a difficult process, but taking the time to do it properly will ensure your bike is in perfect condition and ready to hit the road as soon as spring time arrives.


